Bitmapping on 3d object.
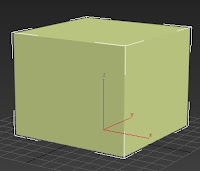
To bitmap a 3d object in 3ds max first you will need to created a box or anyother object in 3d.
After I created a box. Then look at the tool bar on top of 3Ds Max. Click and hold on Material Editor, select the first one. Then the material editor will show up just like in the picture.
Once the material editor showed up. Select Maps at the bottom. Then click on Diffuse colour click none right next to it. Now Select the bitmap you want to put on the shape. Then to put the bitmap on the shape you will click on the 3rd icorn just below the material, but before you do that you will need o click on the iron just before the show end result. What that does is when you click on the 3rd icorn it will show the bitmap on the shape. If you dont then the bitmap it'll be invisible.
Friday, 30 November 2012
Modifiers
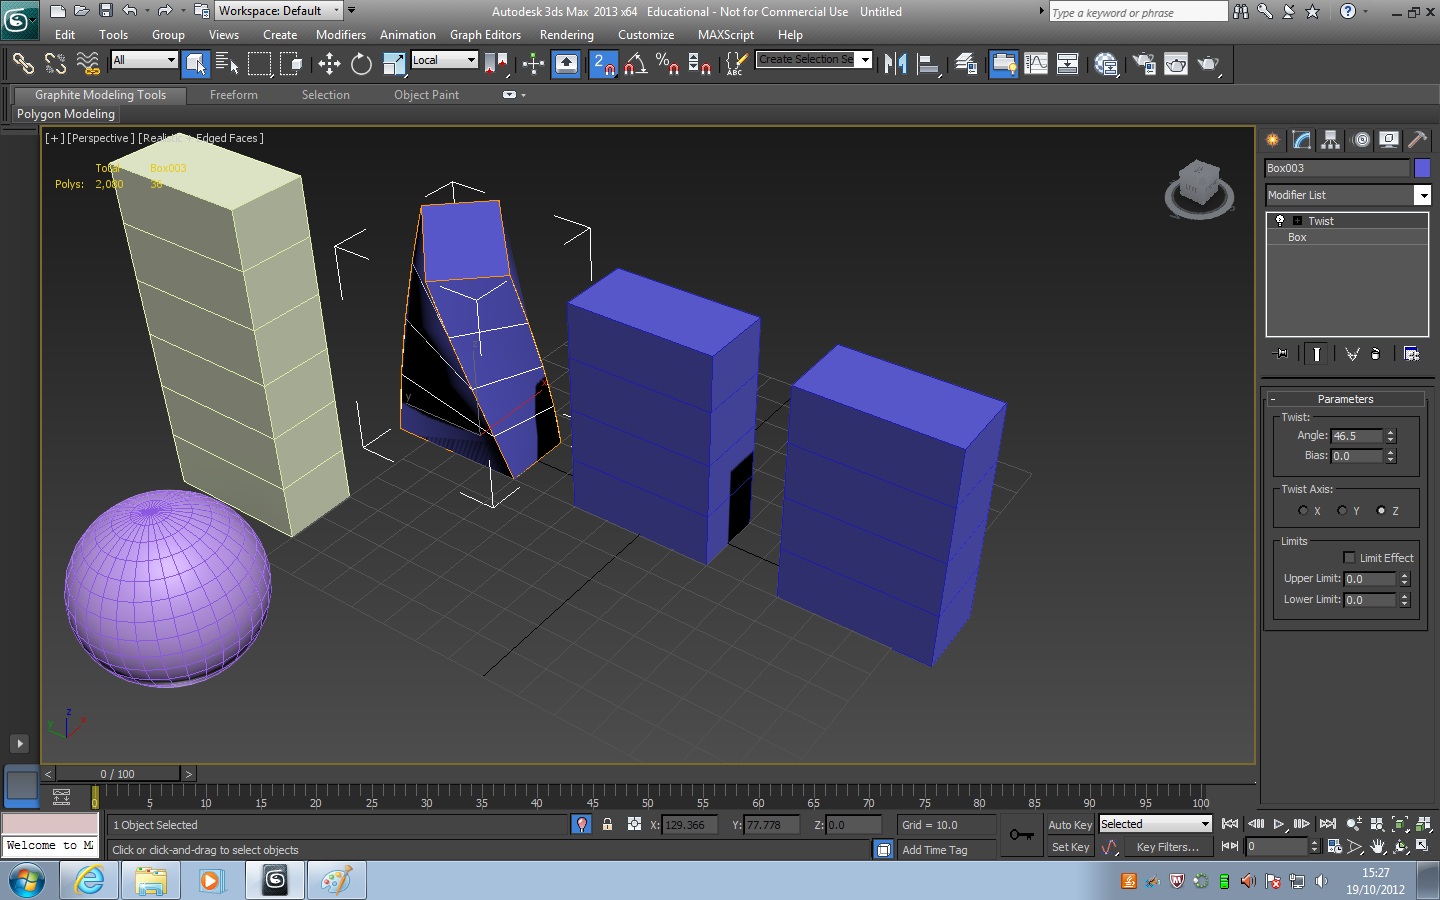
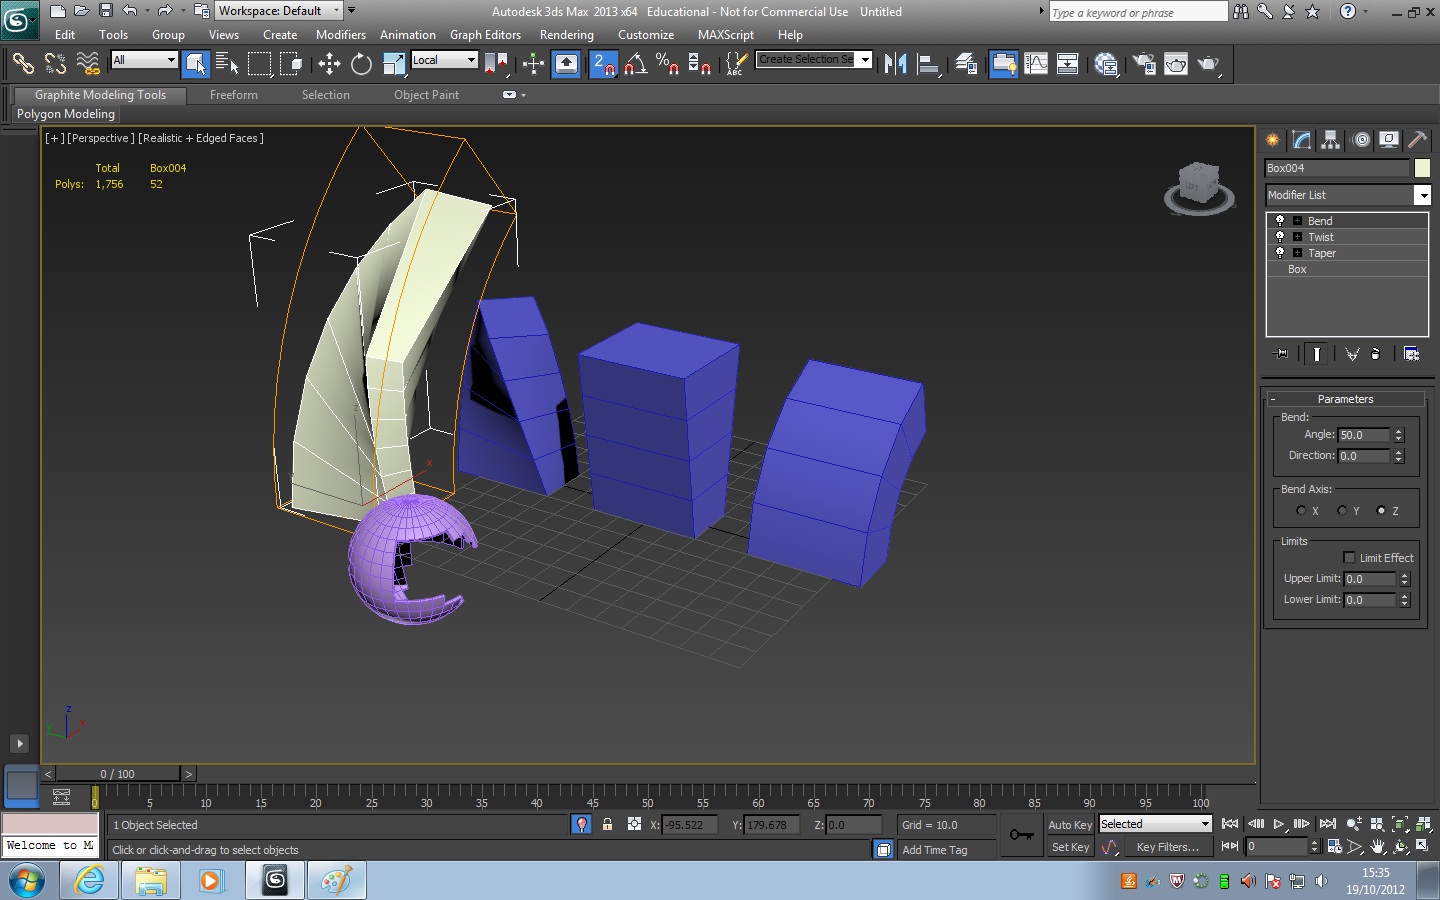
Twist - What the twist tool do is to turn a object around, you can see the picture at the left, the first blue object is twisted.
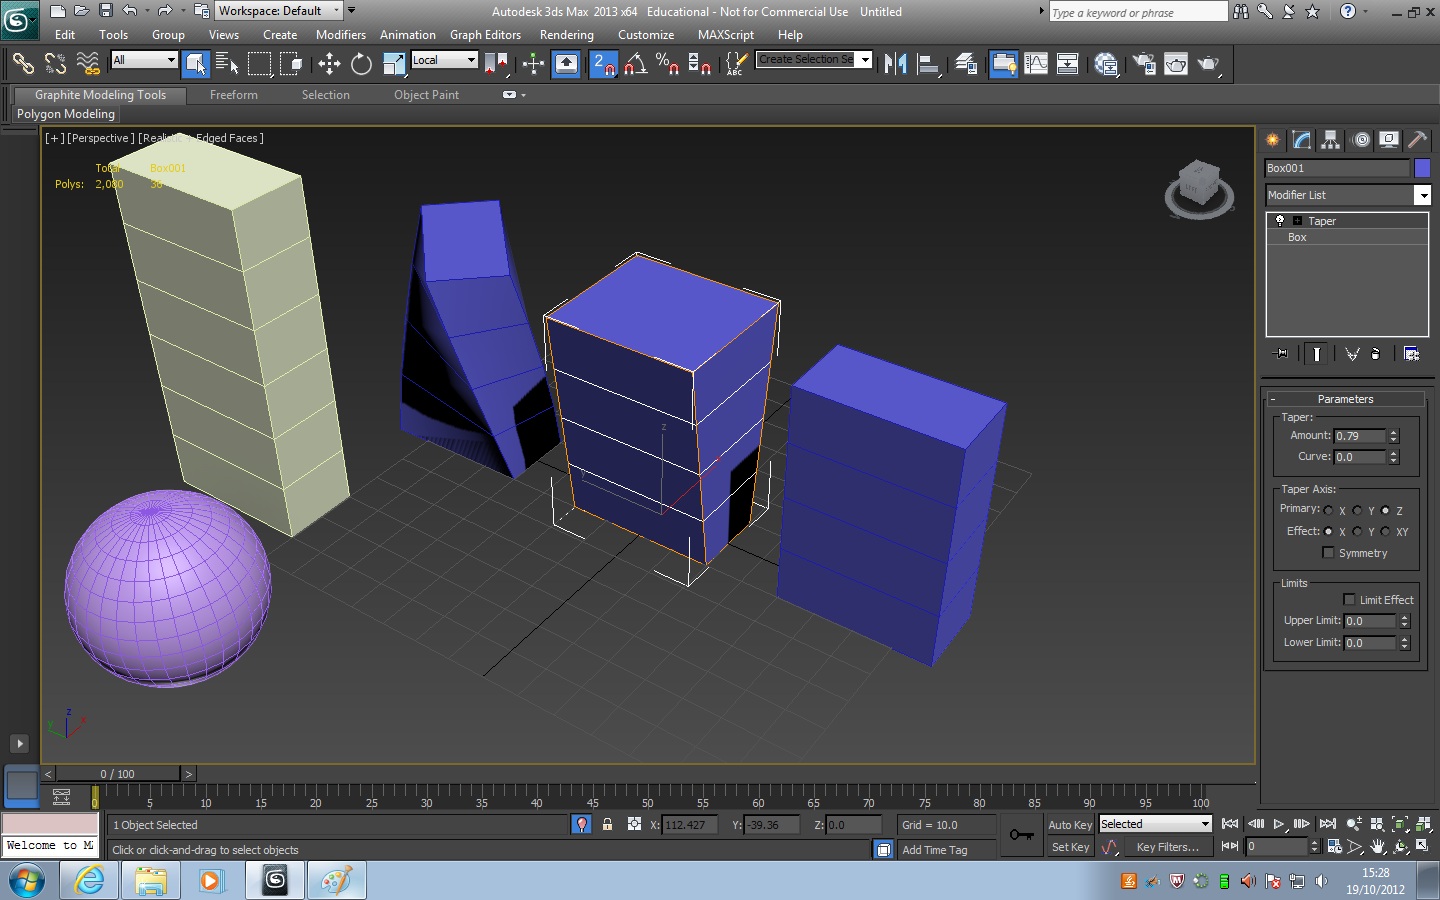
Taper - The Taper tool is to make a edge longer, as you can see the picture at the left the second object. The top edge of the back face is longer then the bottom edge.
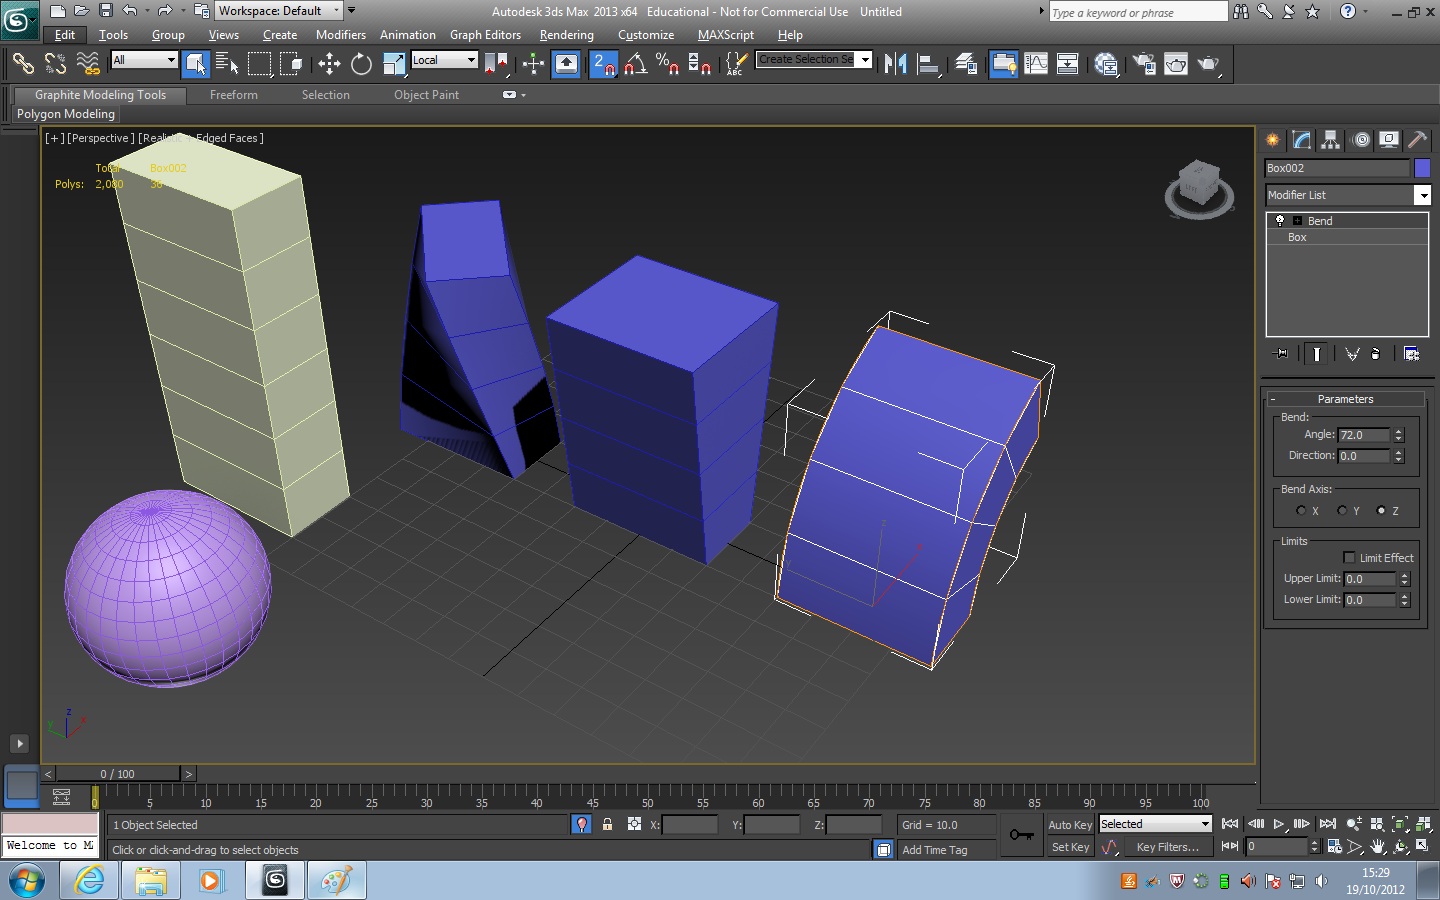
Bend - The Bend tool is very simple, is to bend a object. You can see that the picture at the left, the third blue object is bended.
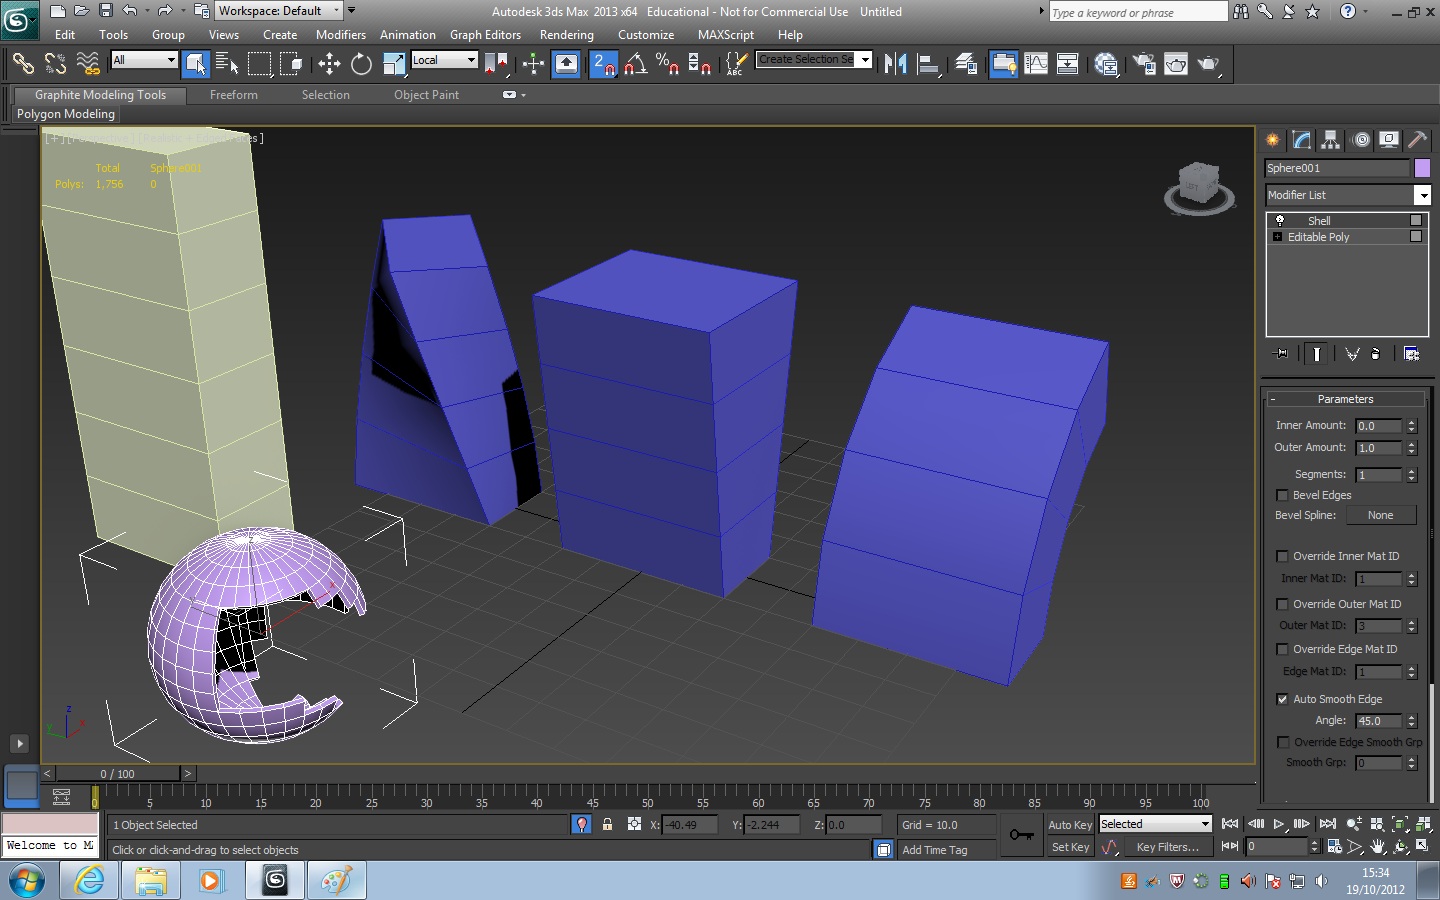
Shell - The Shell tool is to delete the faces you selected also the face at the back. The picture at the left i've created a sphere and half of the faces is deleted. Normally when you selected some faces on the front of the sphere and you deleted the faces it only delete the faces you selected, but with the Shell tool it also delete the faces at the back of the sphere
There is white object in the picture at the left. I've mix all the 3 tool together, twist, taper and bend.
Loft Object
To create a Loft object, first I need to draw out a line with the line tool in any kind of shape I like. Then right click on the line then click on smooth and now I've created a smooth line.
The next step is to turn the line into a Loft object. To do this I need to select compound object just under the shape tools. Then click on get shape then click on the line i just created then the line has turned into a loft object.
I can also modifies the loft object, by using the Scale Deformation tool, I can change the shape of the loft object, I've shown a picture of how i can change the loft object into. The shape of the loft object its very good. I can use this in my 3d robot model.
Model Construction
Vase (spline shape and lathe)
To make the Vase first click on the front view and use the line tool and draw out the shape of the Vase, But you only have to draw half of it. (Right click to close line).
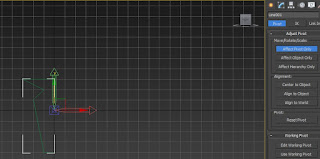
Now after you finsihed making the shape, click on Hierachy, then at the Adujust Pivot selcetion click on Affect Pivot Only. Then move the red, geen and blue angel to the center, after you done that click on Affect Pivot Only again to release it.
A door with panels (extrusion/outline)
1.First i created a box at the left side of the picture.
2.After i created the box i changed the length and width sections the box parameters.
3.Then i added Edit Poly on the modifier list. Select the front faces of the box then click on Inser, but before you insert you must select By Polygon then you can insert like what i have on the third picture.
4.To finish this you will just need to Extrude it. Select those 4 faces you just inserted it. Click on extrude then extrude like what i have on the fouth picture. Then there is your door.
The Recognizwe from the film Tron (spline shapes and extrusion)
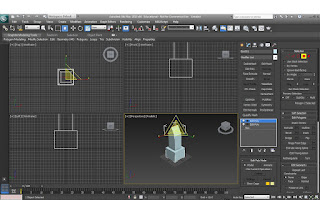
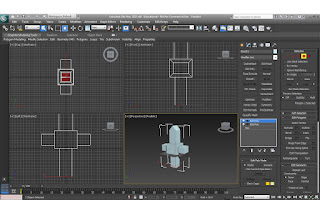
To extrude a 2D shape first you will need to create the shape you want to extrude.
Then select Extrude on the Modifier List. Then you can Extrude the shape.
This is the Short animation for my final piece.
A Crate (box modelling using extrusin/outline)
To make a box. First I will create a box but it looks too simple for a game so we're going to make it look better.
On the Modifier List select Edit Poly.
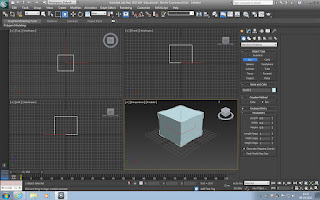
Click on Polygon, select all faces. Then click on the little window next to the Insert icon it will show up a little window like the picture on the left. Click on group selection, select By Polygon. Then move it left or right in the middle icon.
Move it until you have something like the picture on the left, click, tick. Now click on Extrude, extrude forward.
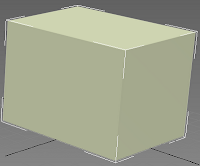
Then your box should look like this and there you go. Now it looks much better.
Sword (box modelling)
To create the sword we used a single box to create it. How? I am going to modify it.
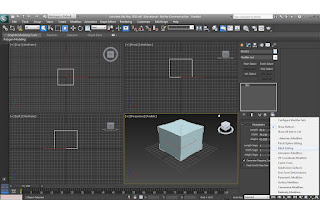
First click on the last icon just under the box window. select Mesh Editing.
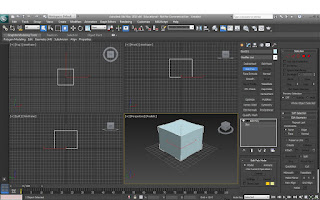
After clicking on the Mesh Editing it will come up many options on the right side. Click on Edit Poly just under the Modifier List.
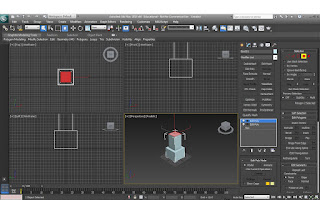
After that click on Polygon in the Selection part. Click the top face then Insert to make the face smaller. Last click on Extrude and move it up. Then you should have the shape I have. (Bottom of the Picture.)
After you extrude it, release the mouse then extrude it again, but this time we only need to extrude it a little bit so we can have 2 shapes.
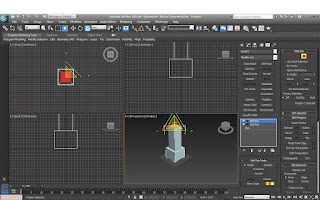
Now click on the top face and select Insert, then click on Scale on the top list. Then change the shape to the picture at the left side.
Then for the handle and the pommel you use the same method to change the shape around. Insert then extrude them.You can just change it to however you like.
Now after you finsihed making the shape, click on Hierachy, then at the Adujust Pivot selcetion click on Affect Pivot Only. Then move the red, geen and blue angel to the center, after you done that click on Affect Pivot Only again to release it.
A door with panels (extrusion/outline)
1.First i created a box at the left side of the picture.
2.After i created the box i changed the length and width sections the box parameters.
3.Then i added Edit Poly on the modifier list. Select the front faces of the box then click on Inser, but before you insert you must select By Polygon then you can insert like what i have on the third picture.
4.To finish this you will just need to Extrude it. Select those 4 faces you just inserted it. Click on extrude then extrude like what i have on the fouth picture. Then there is your door.
The Recognizwe from the film Tron (spline shapes and extrusion)
To extrude a 2D shape first you will need to create the shape you want to extrude.
Then select Extrude on the Modifier List. Then you can Extrude the shape.
A Crate (box modelling using extrusin/outline)
To make a box. First I will create a box but it looks too simple for a game so we're going to make it look better.
On the Modifier List select Edit Poly.
Click on Polygon, select all faces. Then click on the little window next to the Insert icon it will show up a little window like the picture on the left. Click on group selection, select By Polygon. Then move it left or right in the middle icon.
Move it until you have something like the picture on the left, click, tick. Now click on Extrude, extrude forward.
Then your box should look like this and there you go. Now it looks much better.
Sword (box modelling)
To create the sword we used a single box to create it. How? I am going to modify it.
First click on the last icon just under the box window. select Mesh Editing.
After clicking on the Mesh Editing it will come up many options on the right side. Click on Edit Poly just under the Modifier List.
After that click on Polygon in the Selection part. Click the top face then Insert to make the face smaller. Last click on Extrude and move it up. Then you should have the shape I have. (Bottom of the Picture.)
After you extrude it, release the mouse then extrude it again, but this time we only need to extrude it a little bit so we can have 2 shapes.
Now click on the top face and select Insert, then click on Scale on the top list. Then change the shape to the picture at the left side.
Then for the handle and the pommel you use the same method to change the shape around. Insert then extrude them.You can just change it to however you like.
Subscribe to:
Posts (Atom)